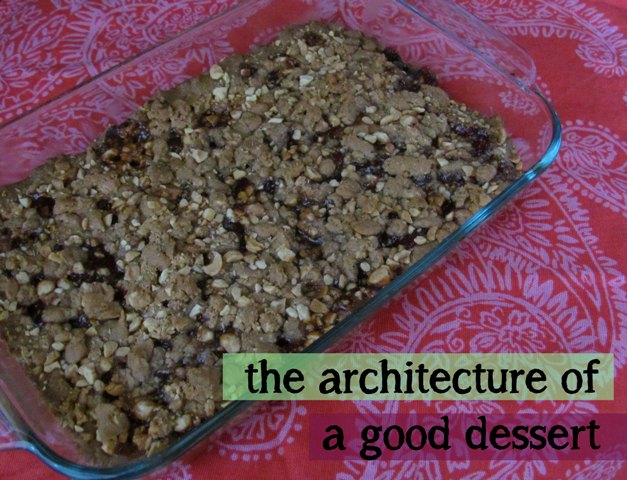
This weekend, with the help of Rachael Ray's Nutty Peanut Butter & Jelly Squares recipe, I explored the architecture of a good dessert. In the kitchen I came up with the following tenets.
Keep it Simple
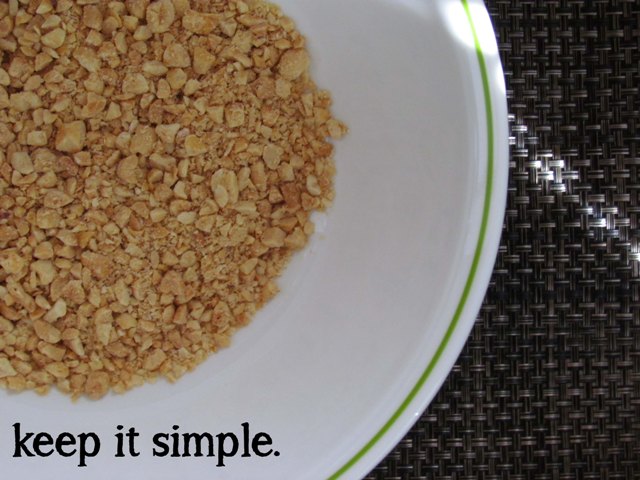
I chose this recipe because it put me very much in the back to school mood. The ingredients are simple -- keeping it simple is the foundation of a dessert. Here we are working with two flavors, one sweet and the other salty. The flavors are familiar and balanced.
I chose this recipe because it put me very much in the back to school mood. The ingredients are simple -- keeping it simple is the foundation of a dessert. Here we are working with two flavors, one sweet and the other salty. The flavors are familiar and balanced.
Use the Right Tools
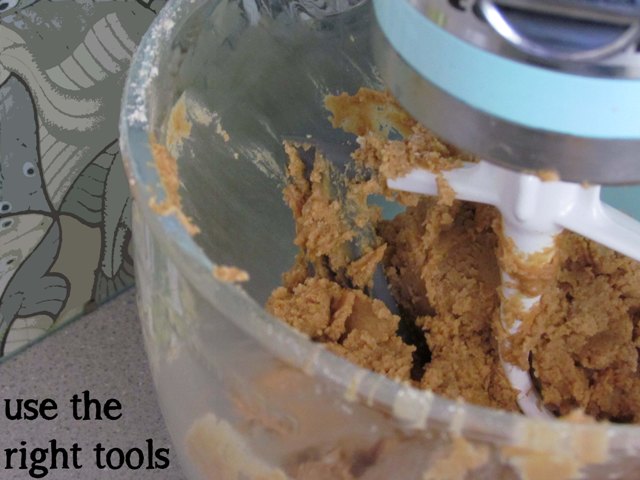
Rachael Ray prescribed a food processor to create these bars; I used a stand mixer to create the peanut paste base of the bars. The paste could be mixed by hand as well -- so it is all about committing to the tools you have available and making them the right tools for your project.
Rachael Ray prescribed a food processor to create these bars; I used a stand mixer to create the peanut paste base of the bars. The paste could be mixed by hand as well -- so it is all about committing to the tools you have available and making them the right tools for your project.
Create Unique Textures
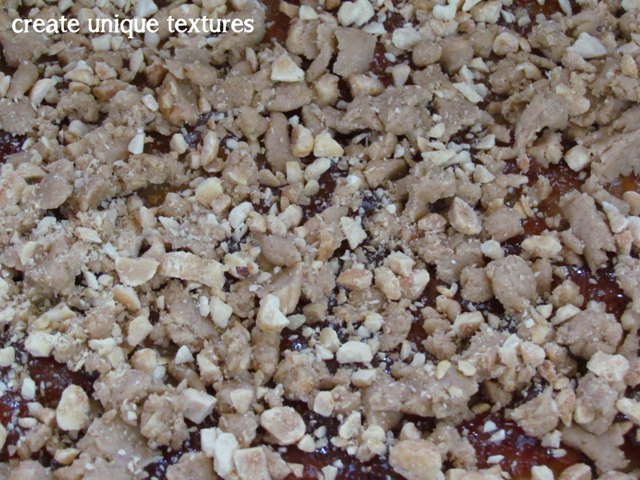
You can argue that there is nothing special about a peanut butter and jelly sandwich. But there is something special about the way it makes you feel and the nostalgia that it can foster. Repackaging the not so special pb&j in a bar with a crunchy top pulls in the masses and warms their hearts with those familiar flavors. Think about it, these principles apply to all of design. (1) Keep it simple and start with the familiar; (2) find the right tools for material development; and (3) create something innovative.
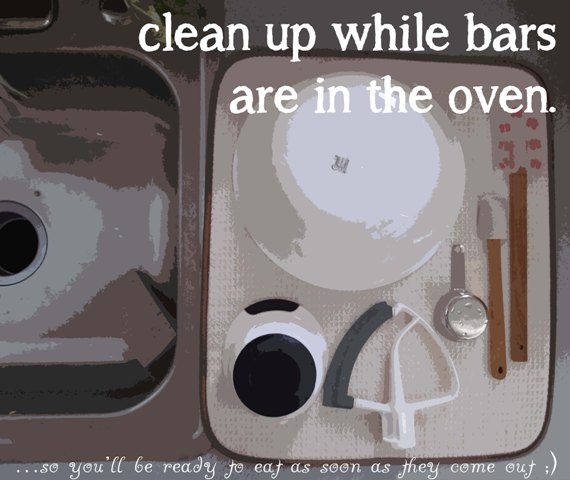
And as your bars are in the oven and you are thinking about how you are experiencing a creative process… clean up your workspace. And then you will be all set to taste your treats as soon as the oven calls!
The recipe yields 16 bars and requires about 25 minutes of prep time, before baking for 45 minutes. Let me know how it goes if you give it a try.
Ingredients
Directions
1. Position a rack in the center of the oven and preheat to 350 degrees . Line an 8-inch square baking pan with an 8x13 inch sheet of parchment, letting the excess hang over.
2. Using a food processor, pulse the peanuts until chopped. Transfer to a medium bowl.
3. In the processor bowl (no need to clean), mix the 2 flours, the brown sugar and salt. Add the butter; pulse until the mixture resembles coarse meal. Add the peanut butter and vanilla; process until crumbly. Measure out 2/3 cup of the crumb mixture; transfer to the bowl of peanuts.
4. Dump the remaining crumb mixture into the prepared pan and pan down firmly (it doesn't have to be perfectly even). Spoon the jam on top and spread to within 1/2 inch of the edges. Sprinkle the peanut-crumb mixture evenly over the top, going all the way to the edges of the pan.
5. Bake until the top is golden-brown and the jam is bubbling, about 45 minutes. (If browning too quickly on top, lay a sheet of foil loosely over the pan.) Transfer the pan to a rack to cool completely.
6. Grasp the parchment and gently lift the entire dessert out of the pan. Place on a cutting board and cut into 16 squares.
Check out the original website at Rachael Ray's website...
Ingredients
- 3/4 cup salted, roasted peanuts
- 1 cup all-purpose flour
- 1/2 cup whole wheat flour
- 3/4 cup packed light brown sugar
- 3/4 teaspoon salt
- 1 4-ounce stick unsalted butter, chilled and cut into pieces
- 3/4 cup natural creamy peanut butter
- 1 teaspoon pure vanilla extract
- 1 cup grape or strawberry jam
Directions
1. Position a rack in the center of the oven and preheat to 350 degrees . Line an 8-inch square baking pan with an 8x13 inch sheet of parchment, letting the excess hang over.
2. Using a food processor, pulse the peanuts until chopped. Transfer to a medium bowl.
3. In the processor bowl (no need to clean), mix the 2 flours, the brown sugar and salt. Add the butter; pulse until the mixture resembles coarse meal. Add the peanut butter and vanilla; process until crumbly. Measure out 2/3 cup of the crumb mixture; transfer to the bowl of peanuts.
4. Dump the remaining crumb mixture into the prepared pan and pan down firmly (it doesn't have to be perfectly even). Spoon the jam on top and spread to within 1/2 inch of the edges. Sprinkle the peanut-crumb mixture evenly over the top, going all the way to the edges of the pan.
5. Bake until the top is golden-brown and the jam is bubbling, about 45 minutes. (If browning too quickly on top, lay a sheet of foil loosely over the pan.) Transfer the pan to a rack to cool completely.
6. Grasp the parchment and gently lift the entire dessert out of the pan. Place on a cutting board and cut into 16 squares.
Check out the original website at Rachael Ray's website...

